Laravel Many-to-Many Relationship: How to implement It
Last Updated on June 8, 2024
Laravel provides an easy way to work with relationships. From one to many, One to One, and many-to-many relationships, among others, you are always covered when you choose one for your application use case.
In this tutorial, you will learn how to implement Many-to-Many Relationships in Laravel.
Many to-many relationships occur when multiple records in a table have an association with multiple records in another table. For example, a many-to-many relationship exists between a store and a region in a system: A store can serve many regions, and a region can have many stores serving it.
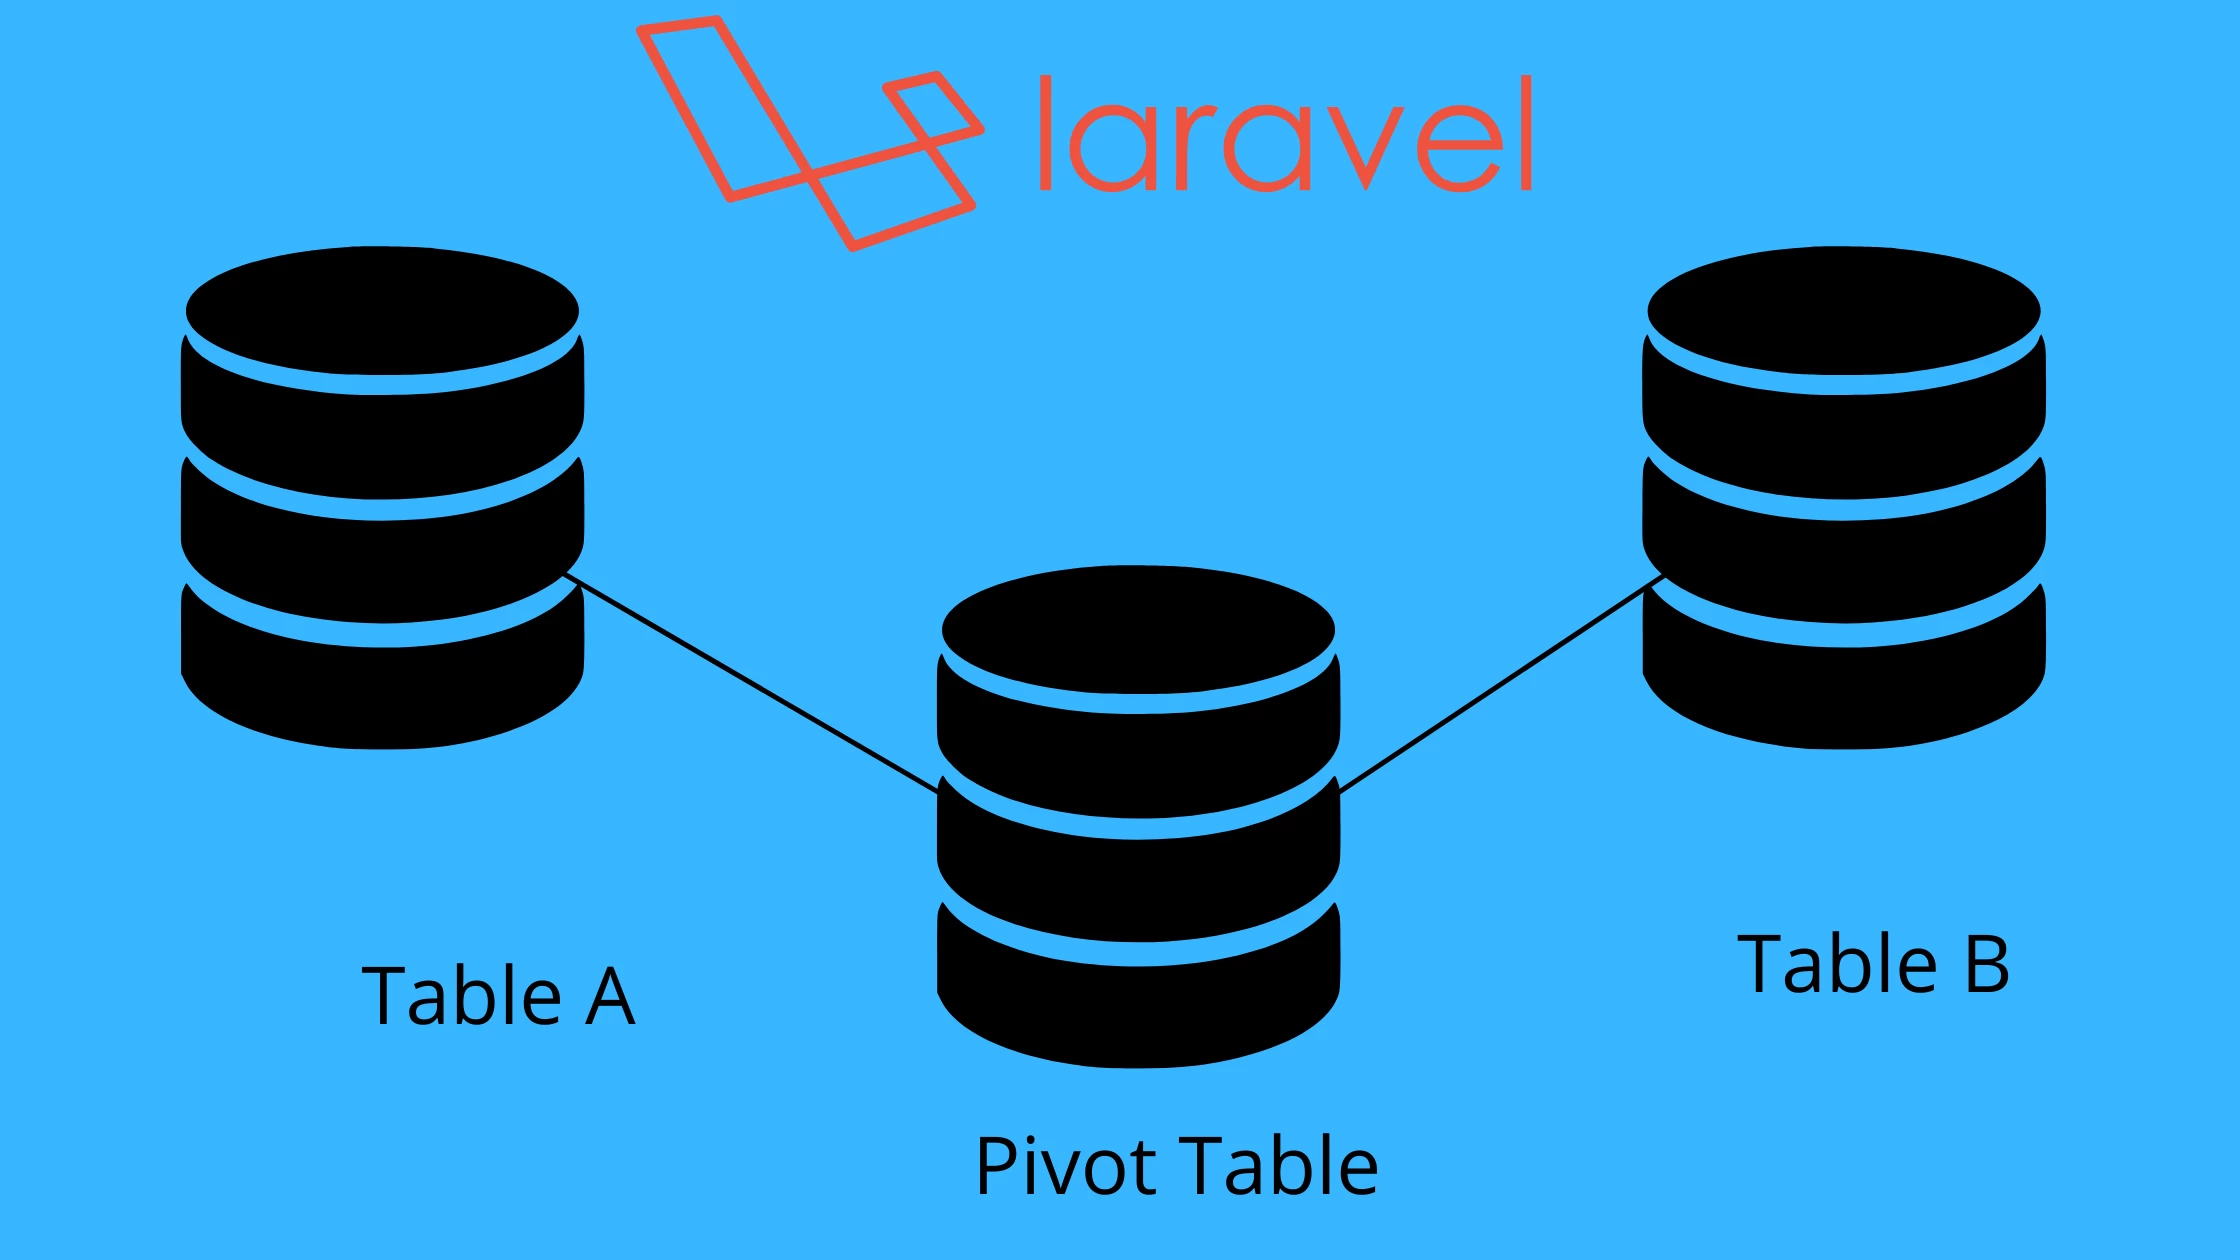
I am going to use the store-region relationship mentioned earlier. Many-to-many relationships involve three tables in its ecosystem. The two tables will be for the independent tables, which in my case will be the regions table and the stores table. The third table is what is known as a pivot table.
A pivot table is an intermediate table that connects the two independent tables using their foreign keys.
How do you implement many to many relationships in Laravel?
To implement many to many relationships, we will need to follow these steps
1. Create a Laravel Project
The first step will be to create a Laravel project. If you already have a project, then you can skip this step
composer create-project laravel/laravel test-app2. Create a model and migration
The next step is to create the model and migration files for our project. I will first create a Region Model and its migration file
php artisan make:model Regions -mpublic function up()
{
Schema::create('regions', function (Blueprint $table) {
$table->id();
$table->string('name');
$table->timestamps();
});
}
/**
* Reverse the migrations.
*
* @return void
*/
public function down()
{
Schema::dropIfExists('regions');
}The next model is the Stores model and its migration file
php artisan make:model Stores -mpublic function up()
{
Schema::create('stores', function (Blueprint $table) {
$table->id();
$table->string('name');
$table->timestamps();
});
}
/**
* Reverse the migrations.
*
* @return void
*/
public function down()
{
Schema::dropIfExists('stores');
}3. Create a pivot table
We then need to create a pivot table that will connect the two tables; stores and regions tables. In Laravel, a pivot table is created by checking the alphabetical order of the two-parent tables. For example, if we had parent table “a” and parent table “b”, then the pivot table would be “a_b”. Using the same analogy, I can create my pivot table “regions_stores” table for my case.
php artisan make:migration create_regions_stores_tableI will then add the foreign keys of the parent tables as shown
public function up()
{
    Schema::create('regions_stores', function (Blueprint $table) {
            $table->id();
            $table->unsignedBiginteger('regions_id')->unsigned();
            $table->unsignedBiginteger('stores_id')->unsigned();

            $table->foreign('regions_id')->references('id')
                 ->on('regions')->onDelete('cascade');
            $table->foreign('stores_id')->references('id')
                ->on('stores')->onDelete('cascade');

            $table->timestamps();
    });
}

/**
 * Reverse the migrations.
 *
 * @return void
 */
public function down()
{
    Schema::dropIfExists('regions_stores');
}
4. Define many to many relationships
Now that we have our parent and pivot tables ready, we will have to define the Laravel many-to-many relationship in the Parent Models. We will use the belongsToMany() function to do so. This function expects a series of parameters such as the related Model, optional table name, optional foreign pivot key, and optional related pivot key among others. The only required parameter is the related model. All others can be prefilled for you if you used the alphabetical naming convention.
I personally like specifying the optional parameters too such as table name, foreign pivot key, and related pivot. This is because I want to have full control over my pivot table.
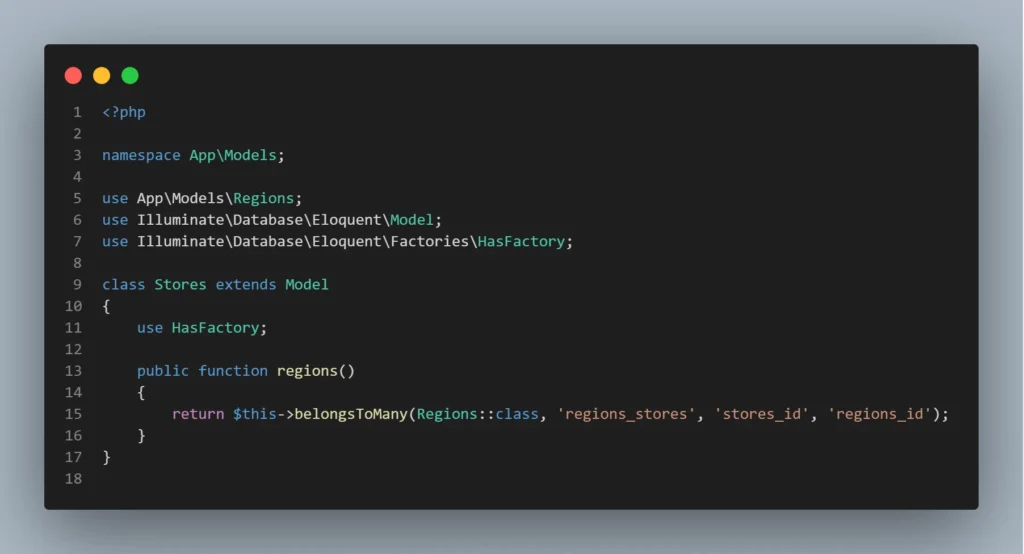
I will update the Stores model as follows
    public function regions()
    {
        return $this->belongsToMany(Regions::class, 'regions_stores', 'stores_id', 'regions_id');
    }
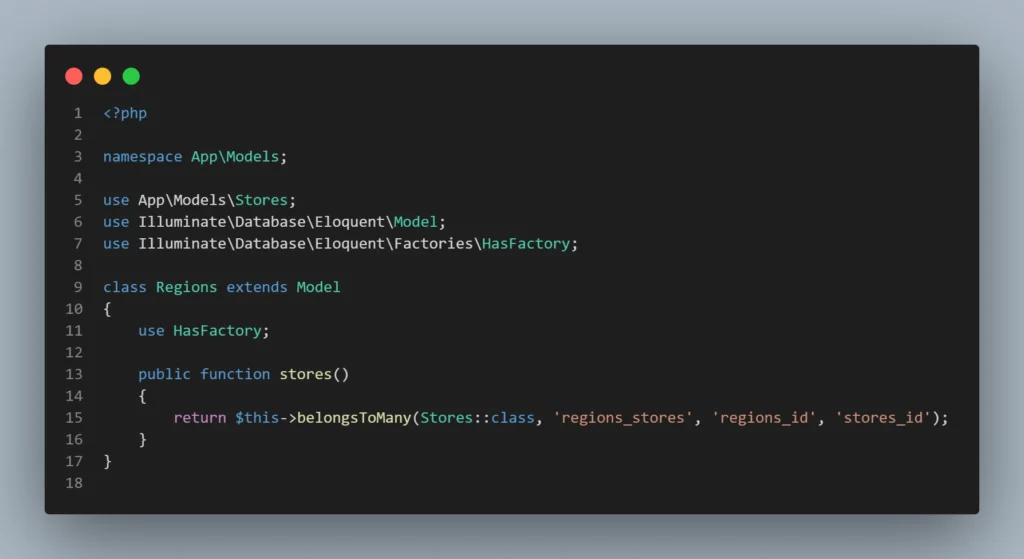
I will also update my Regions Models as follows
    public function stores()
    {
        return $this->belongsToMany(Stores::class, 'regions_stores', 'regions_id','stores_id');
    }
5. Using the Many-to-Many Relationship in our Controller
Once we have defined our many-to-many relationships, we can now migrate the database
php artisan migrateThe next step is to use these helper functions to help us assign the many-to-many relationships to our records.
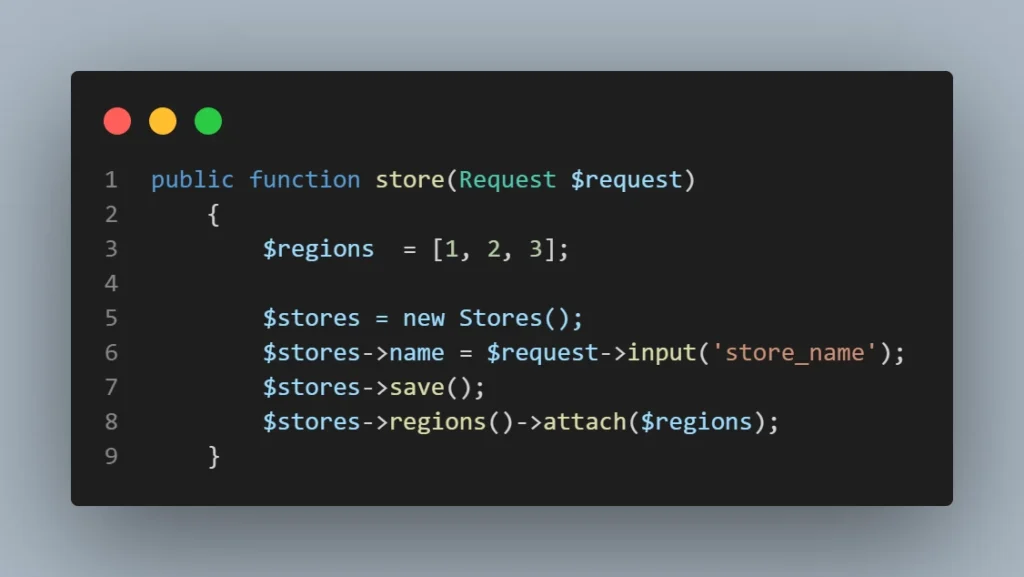
attach() function
This method is used to create and assign a record to multiple other records. For example, if I have a store and I want to assign regions where it can serve, I can use this method to do so
    public function store(Request $request)
    {
        $regions  = [1, 2, 3];

        $stores = new Stores();
        $stores->name = $request->input('store_name');
        $stores->save();
        $stores->regions()->attach($regions);
    }
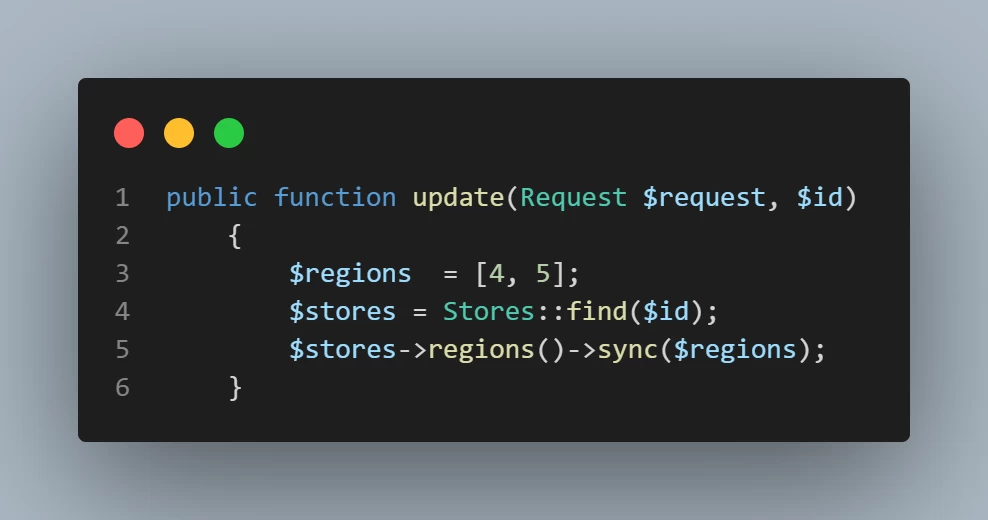
sync() function
This method can be used to update many-to-many relationship attachments. You can make a PUT request to the update endpoint to achieve this. It reassigns records to the newly provided assignments. For example, if I had a store A that serves the following regions: London, New York, Toronto, and Nairobi, I would want to update its regions given the circumstance(either add more regions or remove some regions).
    public function update(Request $request, $id)
    {
        $regions  = [4, 5];
        $stores = Stores::find($id);
        $stores->regions()->sync($regions);
    }
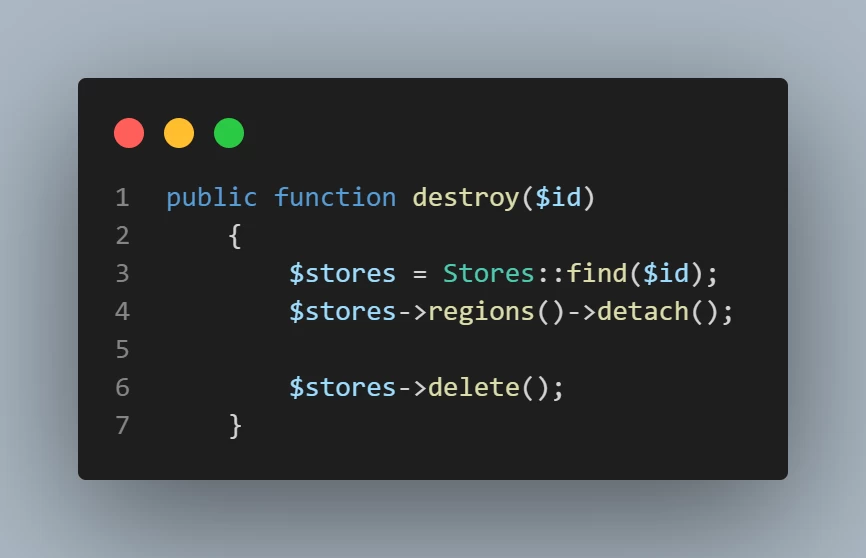
detach() function
This method is used to delete the attachment of a record in many-to-many relationships, for example. If I have a store record that wants to close down, I would also want to remove its attachment, meaning the regions it serves. I can have this method run before a delete function in my controller.
public function destroy($id)
    {
        $stores = Stores::find($id);
        $stores->regions()->detach();

        $stores->delete();
    }
You can get more details regarding the functions here.
6. Retrieving Records
Now that we have our records in a many-to-many relationship, how do we retrieve the records? In this part, I am going to show you how I retrieve the records from the pivot table and add them to my JSON responses(if I am creating a Laravel API) or a response(If I am creating a Laravel CRUD application).
CRUD Fullstack app(Normal Response)
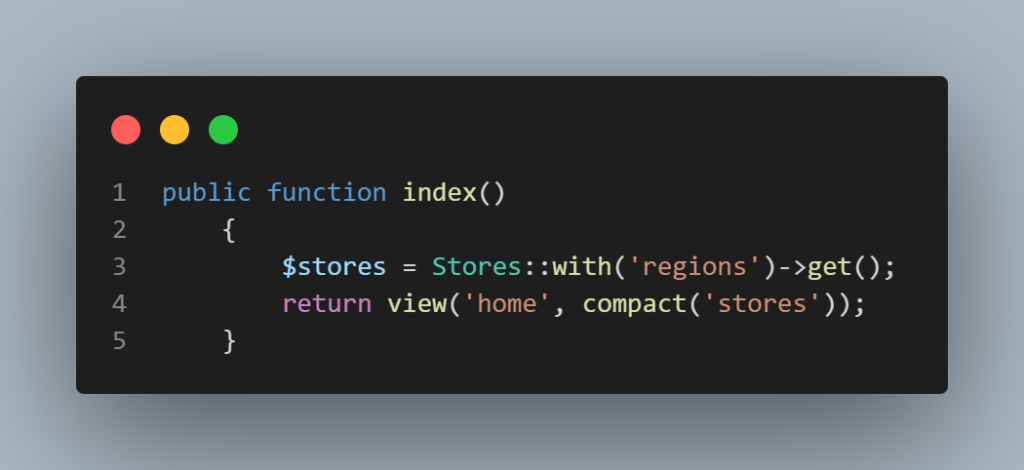
In this case, I can just load all the records using the function I had created in the Parent model and pass them to the blade templates using the compact() helper. The compact() helper creates an array from the collection passed to it. I would then use a for each loop and loop through the array in the blade template and output the required fields.
 public function index()
    {
        $stores = Stores::with('regions')->get();
        return view('home', compact('stores'));
    }
Rest API approach(JSON Response)
For this part, you would not want to expose other details such as created_at and updated_at to a front-end client. As a result, you can use Laravel Resources to format your responses. In my case, I will just return all the records, including the region details, in the same response.
public function index()
    {
        $stores = Stores::with('regions')->get();
        return response()->json([
            'stores' => $stores
        ], 200);
    }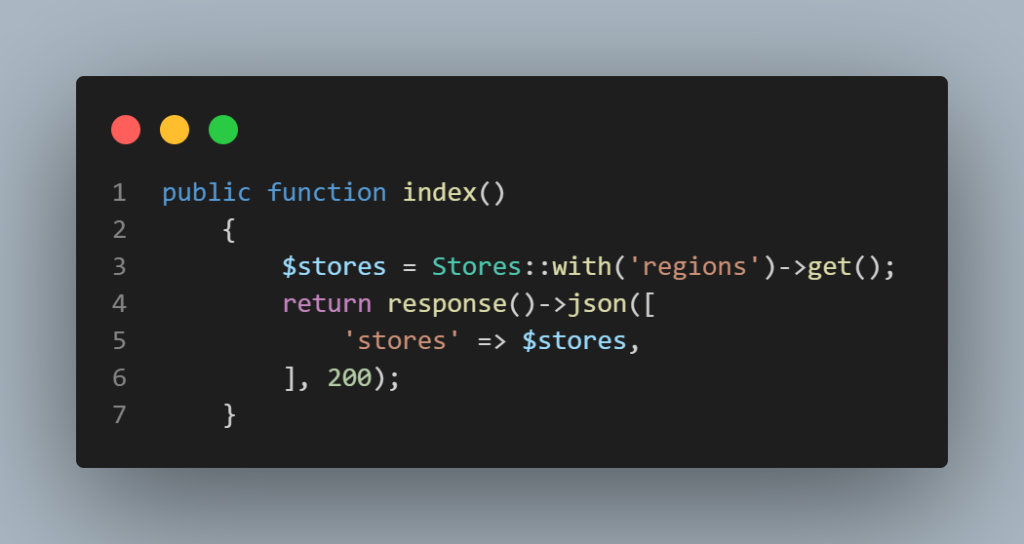
This will return a JSON response that resembles the one below
{
  "stores": [
    {
      "id": 2,
      "name": "Store A",
      "created_at": "2022-07-07T08:36:50.000000Z",
      "updated_at": "2022-07-07T08:36:50.000000Z",
      "regions": [
        {
          "id": 1,
          "name": "Region A",
          "created_at": "2022-07-07T12:00:46.000000Z",
          "updated_at": "2022-07-07T12:00:51.000000Z",
          "pivot": {
            "stores_id": 2,
            "region_id": 1
          }
        },
        {
          "id": 2,
          "name": "Region B",
          "created_at": "2022-07-07T12:00:56.000000Z",
          "updated_at": "2022-07-07T12:01:01.000000Z",
          "pivot": {
            "stores_id": 2,
            "region_id": 2
          }
        },
        {
          "id": 3,
          "name": "Region C",
          "created_at": "2022-07-07T12:01:05.000000Z",
          "updated_at": "2022-07-07T12:01:09.000000Z",
          "pivot": {
            "stores_id": 2,
            "region_id": 3
          }
        }
      ]
    }
  ]
}
Conclusion
In this tutorial, you have learnt when to use many-to-many relationships and how to implement Laravel many-to-many relationships. I hope this article was helpful in your quest to use many-to-many relationships and help create good applications. If you have any questions, feel free to ask. If you enjoyed this article, you might want to read about one-to-many relationships in Laravel. Thank you for reading.

