How to Upload Files/Images to Google Cloud Storage in Laravel
Last Updated on April 19, 2023
Laravel provides a powerful filesystem integration that makes working with Files an easy task. Laravel integrates with Amazon S3 out of the box and you can also use the default disk space on your computer/server to store files.
The market, however, has seen the rise of other Object Storage services such as Google Cloud Storage and Azure Blob Storage just to name a few.
In this article, I will show you how to upload files/images to Google Cloud Storage.
Why use Object Storage
When it comes to files, it is way easier to just store them on the disk, say for your server, because it is free and it is one way of utilizing your server space assigned to you by your host.
However, it does come at risk since the server can always get corrupted or worse get deleted making all your files and images to be lost in the event of such a scenario.
It is also not scalable because you would have to dedicate one instance to primarily store files which can lead to more revenue spent on your infrastructure.
It is also not secure because you would need to actively implement security features to safeguard your file server.
Object Storage help solve these problems as they provide Security, Scalability and Availability at the fraction of the price.
Take Google Cloud for instance, for just 0.02$, at the time of writing, you get 1GB of storage. This provides all the features I mentioned above and removes the burden of maintaining your own File Server. Just connect to their API and you are good to go.
How to Upload Files to Google Cloud Storage in Laravel
To Upload Files to Google Cloud Storage, you can follow the following steps.
Create a Service Account
A Service Account allows a system to authenticate itself when accessing Data from Google APIs. Access to Google is granted based on the IAM and is specified in the service account. This makes it easy for us to specify which services our Application will have access to.
- In your Google Cloud Console, head over to the Service Accounts Section
- Select your project and Create a Service Account.
- Once the Service account is created, you will be assigned a random email address for your service account
- The next step is to create a Key which you will use in our Laravel Application.
- In the keys tab in your newly created service account, click on the add key button and choose the JSON option
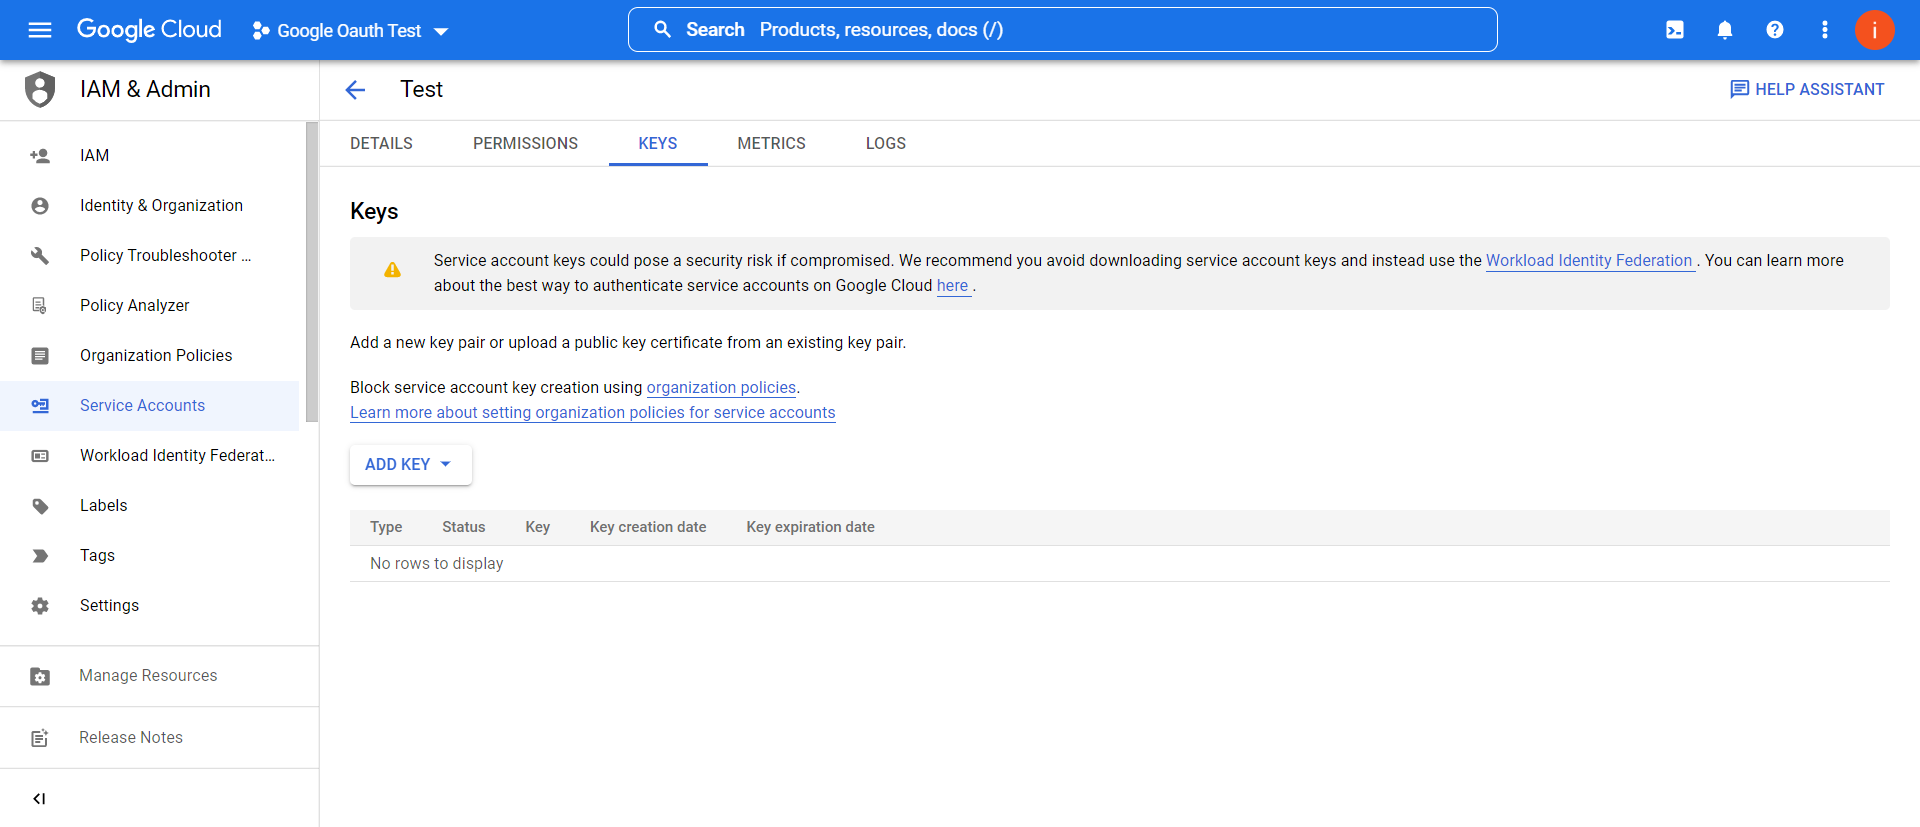
This will create a new key with its corresponding service account JSON file which you can download to your local pc.
Create a Storage Bucket
Once you are done with setting up the Service Account, it is now time to create a Storage Bucket. A bucket is a basic container which holds all your data. You can have folders and files in a single Bucket.
- Head over to the Cloud Storage Tab and create a new Bucket
- Name your bucket and choose the location where your bucket will be created. In this part, I will just choose a single region as it is the cheapest
- For the default storage class, just choose the Standard class, or any other class depending on your needs
- When it comes to how your data will be accessed, there are two options; Uniform and Fine-grained. Google Recommends Uniform Access Control but I was not able to wrap my head around how it works and thus I just use Fine-grained access control which allows me to authenticate through the service account I created earlier.
- The last step is to choose the protection tools. You can leave it as None since Google Cloud Storage Buckets are Secure by default. Once done click Create and your bucket is now ready.
- One final thing you need to do is to grant your service account access to your bucket and specify its roles. Click on your new bucket and head to the permissions tab.
- Click on grant access and Add your Service Account as a Principal(search for it and it should pop up in the search).
- You then need to assign cloud storage roles to your principal. The Roles you should assign are Storage Admin, Storage Object Admin, Storage Object Creator, and Storage Object Viewer. Click save and your bucket is now ready to be used in Laravel.
Create a Laravel Project
If you have no Laravel project created yet, you can create one using the laravel new command.
laravel new gcs storage Install package
To interact with Google Cloud Storage APIs, we will use this package to do so.
composer require spatie/laravel-google-cloud-storageUpdate Filesystem file
Laravel handles storage disks through the config/filesystems.php file. The file contains three different disk services, local, public and s3. We need to add gcs to register it as another disk available to our laravel application
//config/filesystems.php

  'gcs' => [
            'driver' => 'gcs',
            'key_file_path' => env('GOOGLE_CLOUD_KEY_FILE', base_path('service-account.json')), // optional: /path/to/service-account.json
            'key_file' => [], // optional: Array of data that substitutes the .json file (see below)
            'project_id' => env('GOOGLE_CLOUD_PROJECT_ID', 'your-project-id'), // optional: is included in key file
            'bucket' => env('GOOGLE_CLOUD_STORAGE_BUCKET', 'your-bucket'),
            'path_prefix' => env('GOOGLE_CLOUD_STORAGE_PATH_PREFIX', ''), // optional: /default/path/to/apply/in/bucket
            'storage_api_uri' => env('GOOGLE_CLOUD_STORAGE_API_URI', null), // see: Public URLs below
            'apiEndpoint' => env('GOOGLE_CLOUD_STORAGE_API_ENDPOINT', null), // set storageClient apiEndpoint
            'visibility' => 'public', // optional: public|private
            'visibility_handler' => null, // optional: set to \League\Flysystem\GoogleCloudStorage\UniformBucketLevelAccessVisibility::class to enable uniform bucket level access
            'metadata' => ['cacheControl'=> 'public,max-age=86400'], // optional: default metadata
        ],
The updated filesystems.php file should resemble the one above.
Copy the Service Account JSON file to the base path
The next step is to copy the Service Account JSON file we downloaded earlier to your Laravel Application base path. If you have not downloaded it yet, refer to this section to do so.

Update Environment Variables
You need to specify the bucket name and the project id. You can find your project id in the console dashboard.

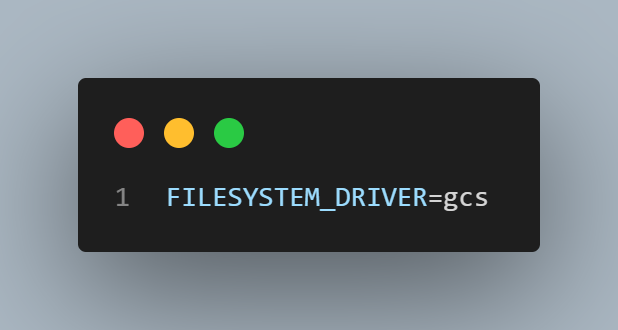
You also need to update the Filesystem Driver to gcs in the .env file
Upload Files
You can now interact with google cloud storage through Laravel. To Upload files, I will create a new Files Controller
php artisan make:controller FilesController I will create an Upload File Function that will take care of Uploading Files to Google Cloud Storage.
use Illuminate\Support\Str;
use Illuminate\Http\UploadedFile;

public function uploadFile(UploadedFile $file, $folder = null, $filename = null)
    {
        $name = !is_null($filename) ? $filename : Str::random(25);

        return $file->storeAs(
            $folder,
            $name . "." . $file->getClientOriginalExtension(),
            'gcs'
        );
    }
You can then request files through HTTP and Upload them to Google Cloud.
public function store(Request $request)
    {
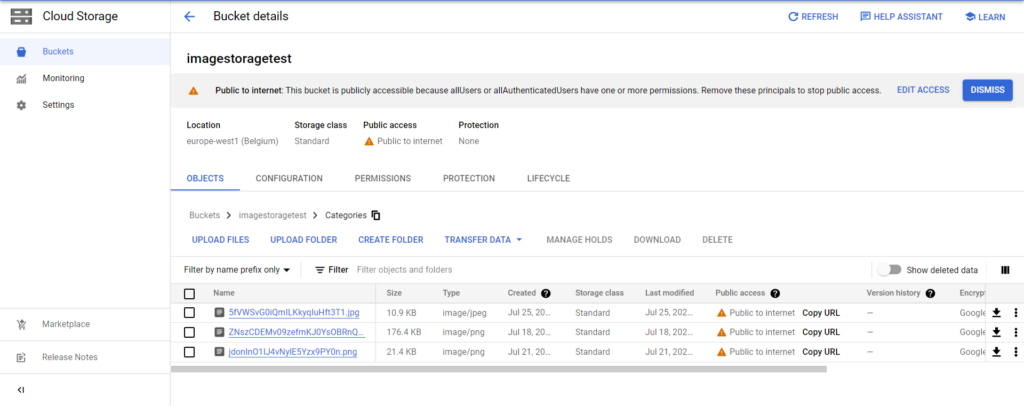
        $link = $request->hasFile('file') ? $this->uploadFile($request->file('file'), 'Categories') : null;
        $category = new Categories();
        $category->name = $request->input('name');
        $category->file= $link;
        $category->save();

        return redirect()->back();
    }
Retrieve Files/Images.
You can retrieve files using the Storage Facade. If you are storing the file path in the database, you can append the path to the URL method.
use Illuminate\Support\Facades\Storage;

Storage::disk('gcs')->url(path/to/file)
This will return the file URL in this pattern.
http://storage.googleapis.com/bucket-name/folder/your_file.png If you prefer to use your own custom domain name, you can add a CNAME to your DNS records.
You can read this guide for further instructions on how to use your custom domain name.
Delete Files.
I will also add another function that will be responsible for deleting files from Google Cloud Storage if they are not needed anymore.
use Illuminate\Support\Facades\Storage;

public function deleteFile($path = null)
    {
        Storage::disk('gcs')->delete($path);
    }
You can now delete files by calling the function and passing the File Path as a parameter.
Conclusion
In this guide, we have learnt how to set up and upload files to Google Cloud Storage and how to Manage those files by Retrieving and Deleting them. I hope this article was insightful and helpful. You can read some of the best practices for uploading Files in Laravel.
Thank you for reading.


